Today's tutorial is....
boutique-style hair bows

To make one bow, you will need:

- 38 inches of 2 inch wide grosgrain ribbon
- one double prong clip (or other clip variety)
- hot glue gun and hot glue
- needle and embroidery thread
- ruler
- marker
Start by laying out the 2 inch wide ribbon. Measure 4 inches, cut, and set aside. That should leave you with 34 inches of ribbon. Measure 4 inches again and use your marker (you'll want to use a marker so that it bleeds through to the back) to make a dotted line along the width of your ribbon. This will be one of the tails.

Now measure 6 inches from your dotted line. Make another dotted line along the width of your ribbon. Repeat three times for a total of four 6 inch sections. These sections are going to be the loops.

After marking your first 4 inch section and the four 6 inch sections, you should have one more 4 inch section left. This section will be the other tail.

Now, take your needle and embroidery thread (if you don't have embroidery thread, you can use regular thread, but I like how embroidery thread makes the bow a little sturdier) and sew a running stitch along the dotted line at the first 4 inch mark. Make sure you double knot the end of the thread so it doesn't pull through.

Remember when I said you wanted your marks to bleed through to the back? This is where that's going to come in handy. Fold the first 6 inch section so that the back is facing up. You should still be able to see your dotted line. Sew a running stitch along that dotted line.

Now fold the next 6 inch section so that the dotted line is facing right side up. Sew a running stitch. Keep alternating this way until you've sewn a running stitch along all of your dotted lines. You should have something that looks similar to this:

With the needle still attached, pull the thread so that it gathers up the ribbon. Try to keep all right sides facing up as you gather.

After you have pulled the thread tight, wrap it around the center twice and put a stitch right through the middle to secure your bow.

Clip the tails into an angle or a split. I like the split look, but it's up to you. Make sure you fray check or heat seal the clipped ends so they won't ravel. Now, take that 4 inch piece you set aside earlier. Fold it into thirds lengthwise and tie a loose knot. Make sure the knot is facing up on the fold.

Put a dab of hot glue directly onto the back of your knot. Place the knot directly onto the front center of your bow, making sure to cover up the embroidery thread.

Flip your bow over. Now take your clip and line the front with hot glue. Make sure not to over glue... you still want to be able to open the clip! (I used a double prong clip, since my bows will mostly be clipped to headbands and hats for now, but if you are making these for an older girl with more hair to snap into, you may want to use one that snaps.) Place the clip face down over the center of the back of the bow.


Holding the clip open, wrap one of the knot ends around and hot glue it down. Trim off the excess. Repeat with the other knot end.
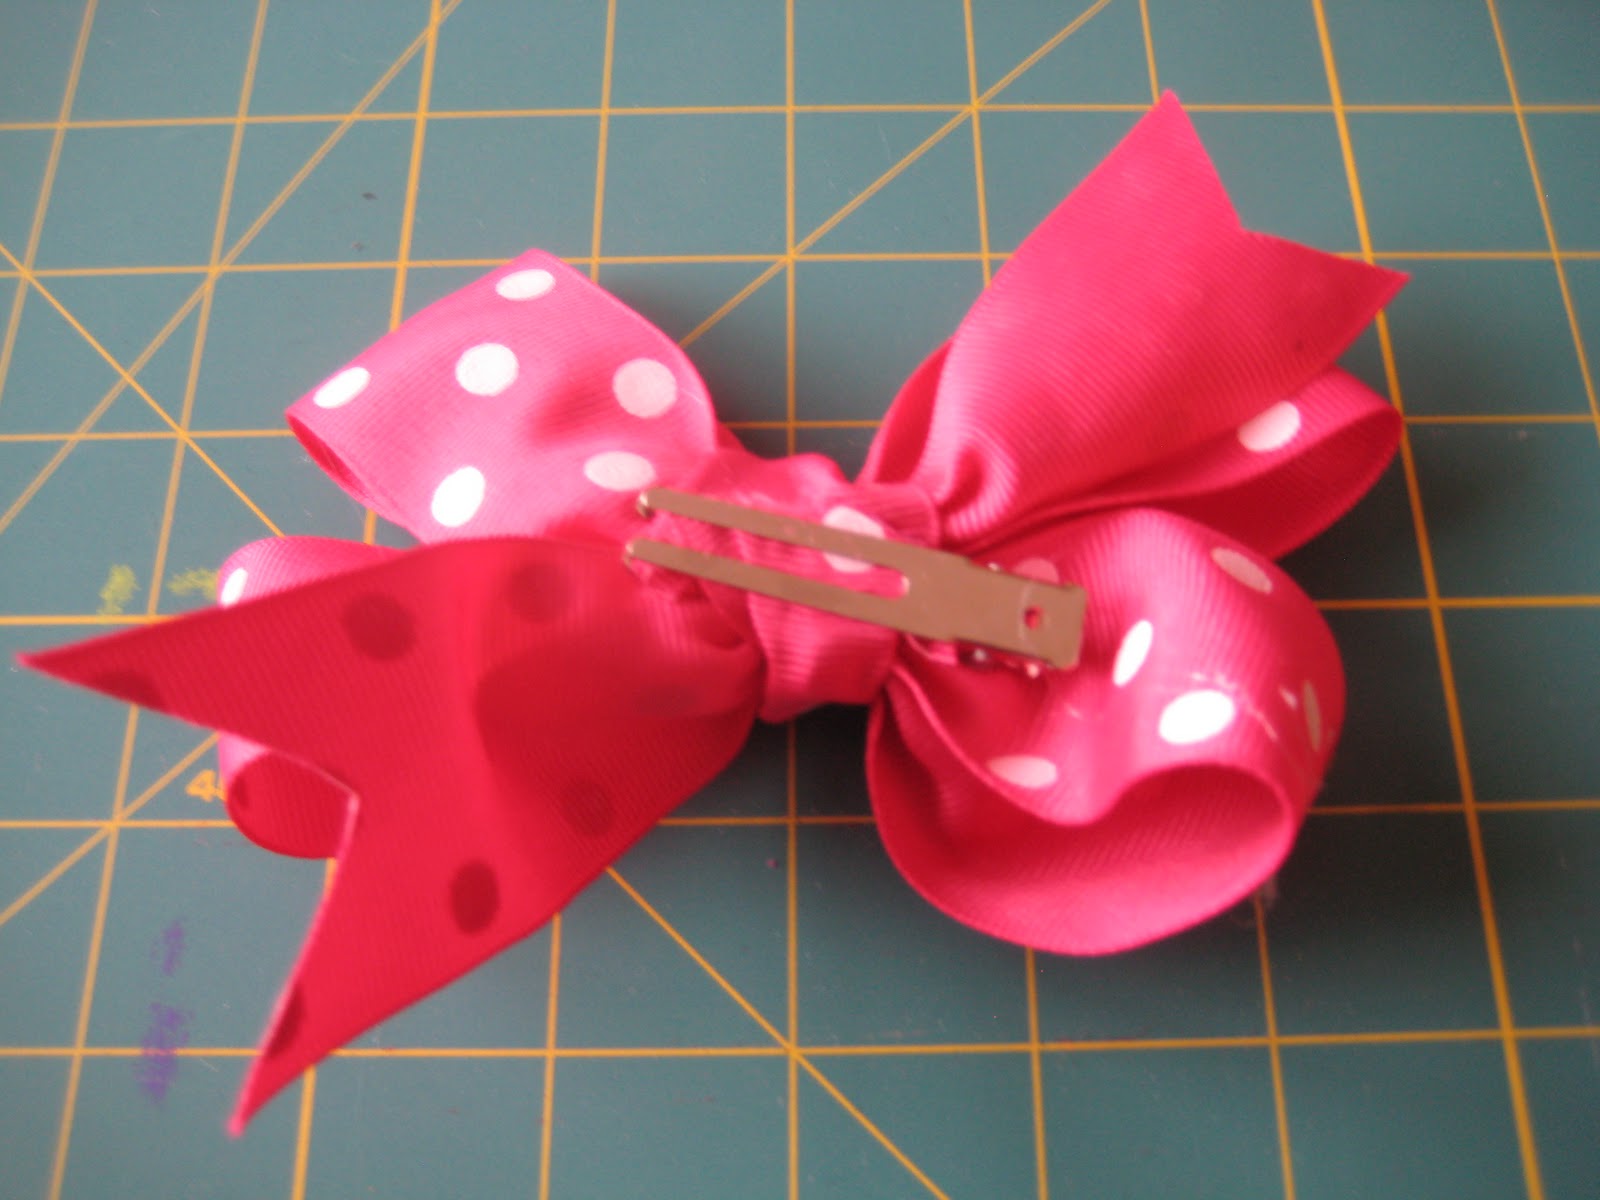
Flip it over and you're finished! You can make a few variations on these by using a coordinating ribbon for the knot instead of a matching ribbon, like on the pink stripe bow below.

Once you get the hang of it, they only take a few minutes a piece to make, and before you know it, you'll have a ton of pretty bows... plus its a really cute, inexpensive way to accessorize a special little lady.
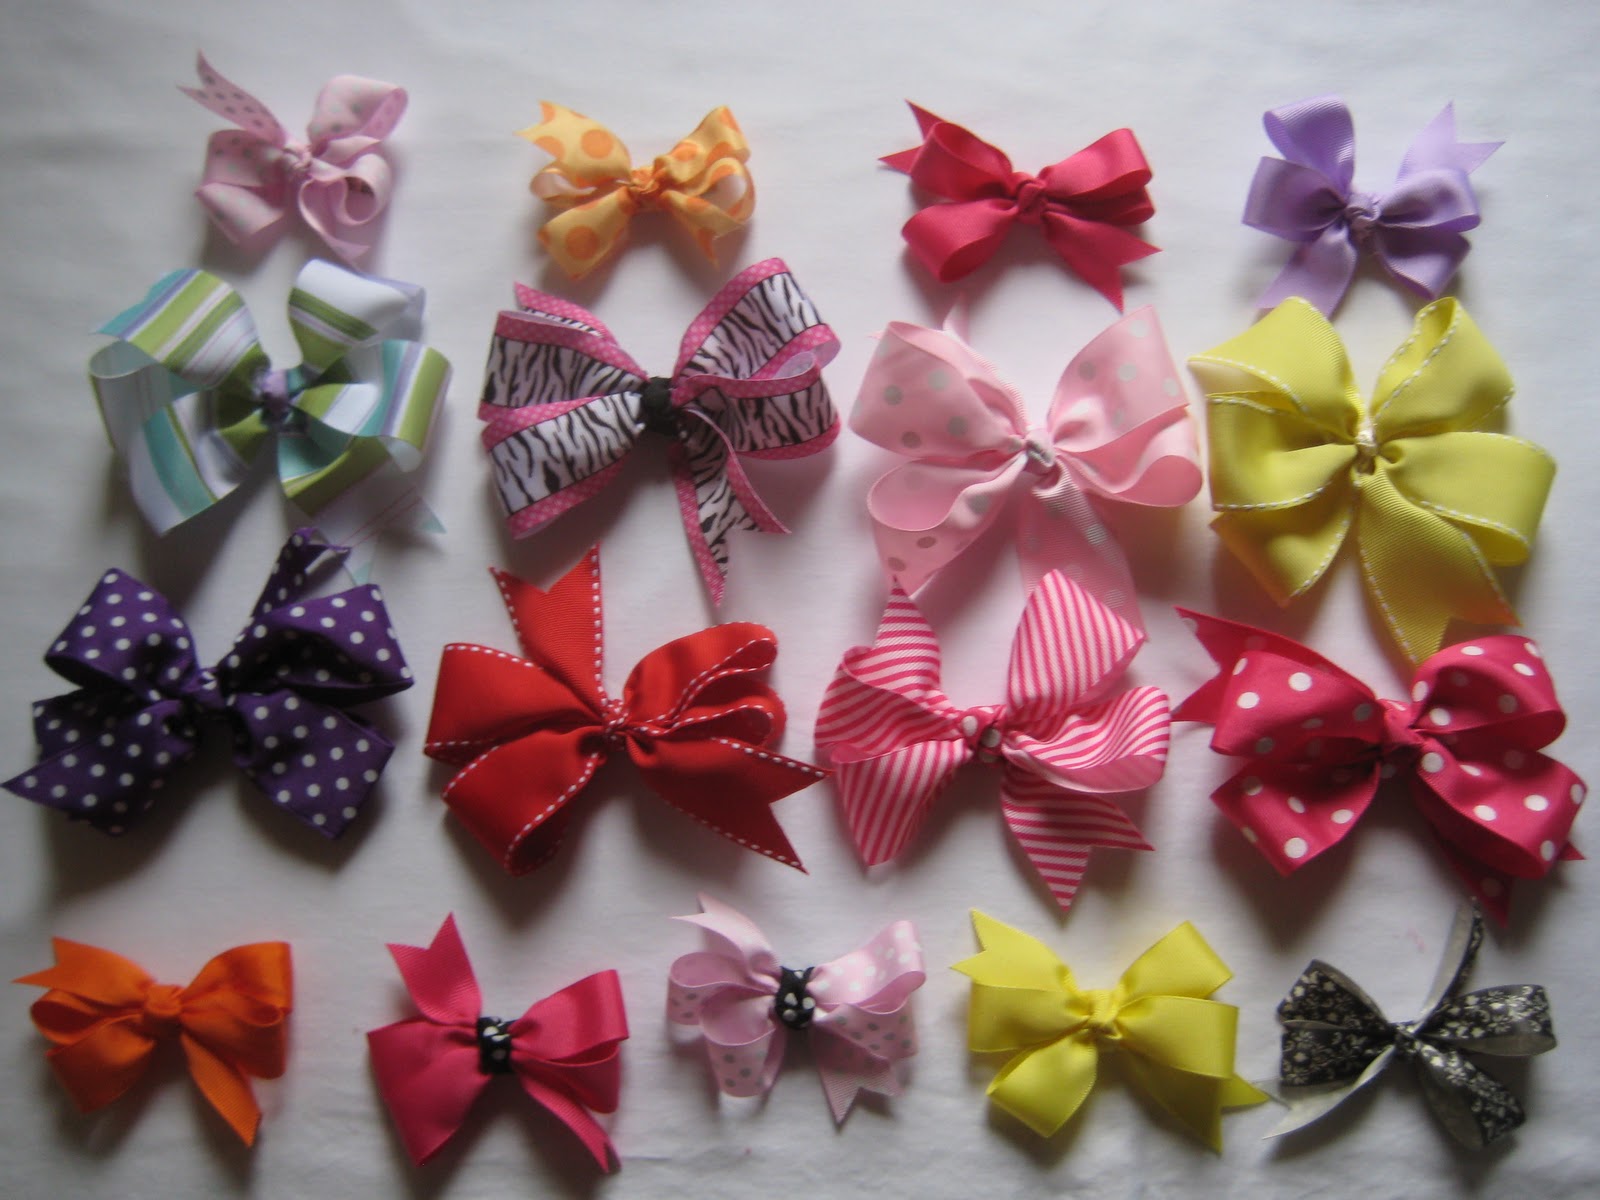
*To make the smaller bows shown above, use a 20 inch long piece of 1 inch wide grosgrain ribbon and follow the directions above, substituting 2 inch sections for tails and 4 inch sections for loops.*
Enjoy your cute new inexpensive boutique-style bows, and make sure to come back tomorrow for the next installment of pretty hair accessories week!
Cool, thanks, those are nice ;)
ReplyDeleteHi Ashley!!
ReplyDeleteI'm Taci and I found you on One Pretty Thing...fantastic tutorial!! I have buy buying these on Etsy for years for my little girl. I try and make my own but the utube tutes on these is painful. I can totally follow this one though. :)
YAY!! I need to go get MORE RIBBON!!
I love your blog and am following!!
*********************
What a great explanation! Thanks for sharing.
ReplyDeleteHi, I'm Karyn..Want to give credit where credit is due..U r an awesome teacher..;-) I thought it would be so hard to learn this.. Now, my biggest stress is what color ribbon to use. Thank You & God Bless U and your family..;-) Can't wait for your next lesson.. ;-) <3
ReplyDeleteHey that's an awesome boy I made one from the tutorial! SO EASY! I'm only 10. Mine looks great thanks!
ReplyDeleteI found this tute via Pinterest. I have attempted many bows in my time and have failed many times over. I just made one using this and when I was done, I said to my husband, "there is no way it could have been that easy!" Thanks so much!
ReplyDelete